We are thrilled to share that Autodesk has acquired key intellectual property (IP) and the team from Golaem!
What does it mean for you?
As of today, nothing changes: our developers and support teams are still there and committed to supporting you and your projects.
We understand that, with Golaem’s acquired team, Autodesk will next work toward integrating Golaem’s key intellectual property (IP) into Autodesk’s current product offering.
Autodesk has acquired Golaem’s key IP, and as such, how we offer licenses has changed and our online store is now closed. For details and help with project or academic licenses, please contact us directly.
Golaem customers will receive an email with more details.
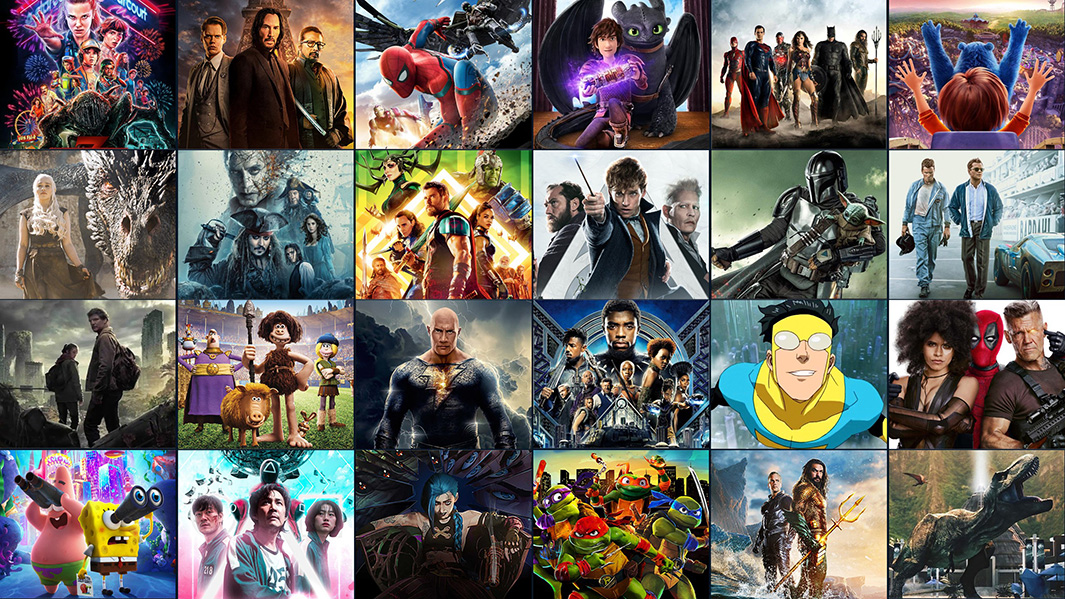
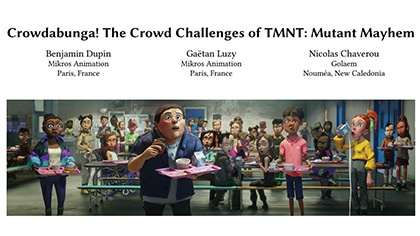
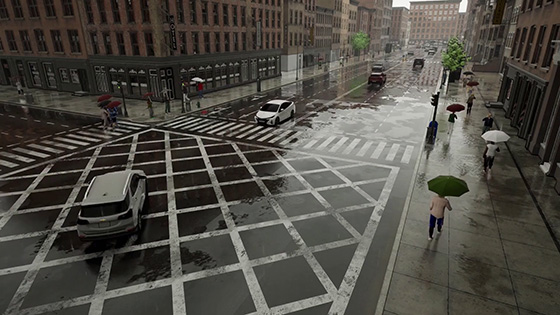
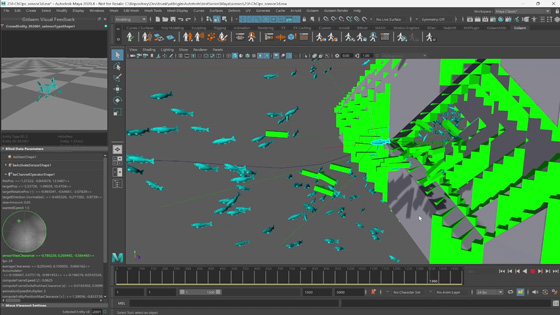
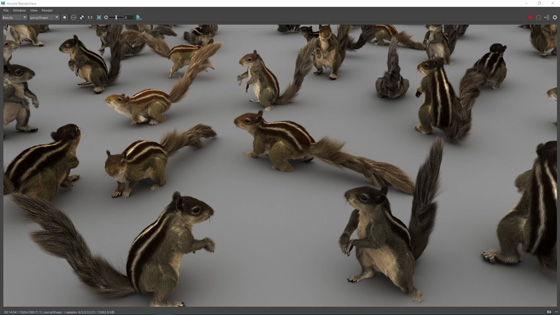
Golaem is proud to have powered hundreds of productions, among the best of their time, during the last 15 years. Stay tuned for even more amazing things ahead!
What about the future of Golaem?
As you may know, being a small and independent company of 7 people, we did not always have the means to develop all our ideas. Our team is eager to join Autodesk teams to deliver even more productive and user-friendly tools, directly in Autodesk products.
We understand that Autodesk plans to integrate Golaem’s key IP directly inside Autodesk’s current product offerings, making it the top standard for crowd simulation and allowing more users to be able to benefit from the power of Golaem tools to give life to their 3D scenes in the VFX/Animation industry and beyond.
Furthermore, we believe that the Golaem team’s experience with procedural animation and AI will be a key addition to Autodesk’s teams, reinforcing Autodesk's leading position on animation tools and delivering even more user-friendly and productive workflows to its customers.
To infinity and beyond
This marks a new chapter in our journey for Golaem and the team. This has been an incredible ride taking technologies out from our research lab and turning them into an acclaimed and two-time Emmy award winning VFX/Animation software.
We would like to thank you all, our users, our friends, our customers, and we are excited to keep working with you in the future to create more incredible workflows and deliver astonishing shots!
If you have any questions, please reach out.
Sincerely,
The Golaem team